e-Portal

e-Portal WEB ORDERS System
|
e-Portal |
Instructions:
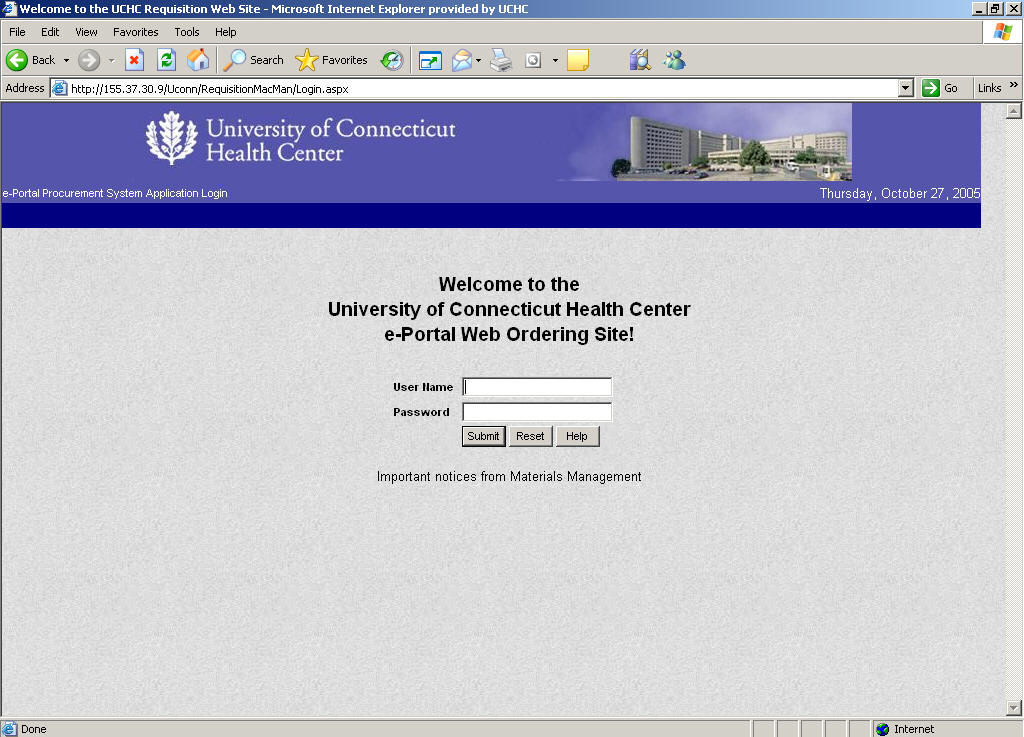
Login Page
Please save the
e-Portal Procurement Home Page in your
favorites. This is the page that you must start in before going to the
Login Page. Important information regarding the system will be displayed
on this page.
Once at this page go to Order Entry to login.
Login Security Page
User Name: Type in your MACOLA User ID
Password: Type in your MACOLA Password (Remember the system is case sensitive)
Submit: Select the Submit button to continue
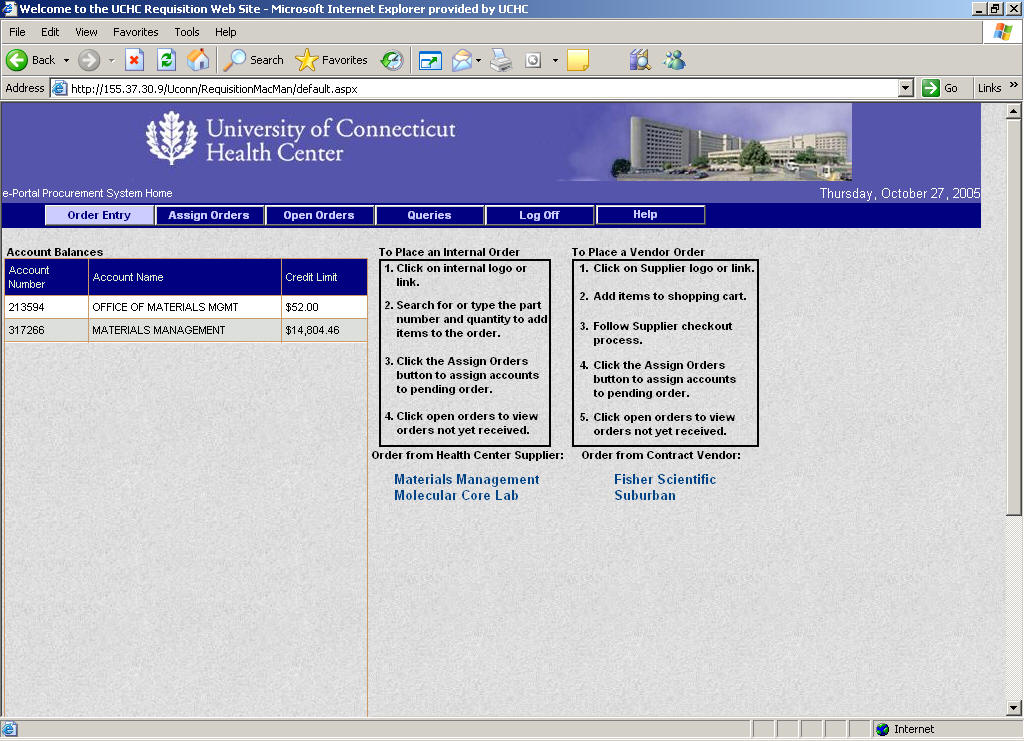
The user is directed to this screen when the user successfully
logs into the application.
This
screen consists of all possible options the user has in the
application in the form of buttons.
The Open Orders button will bring the user to the Open Orders
screen.
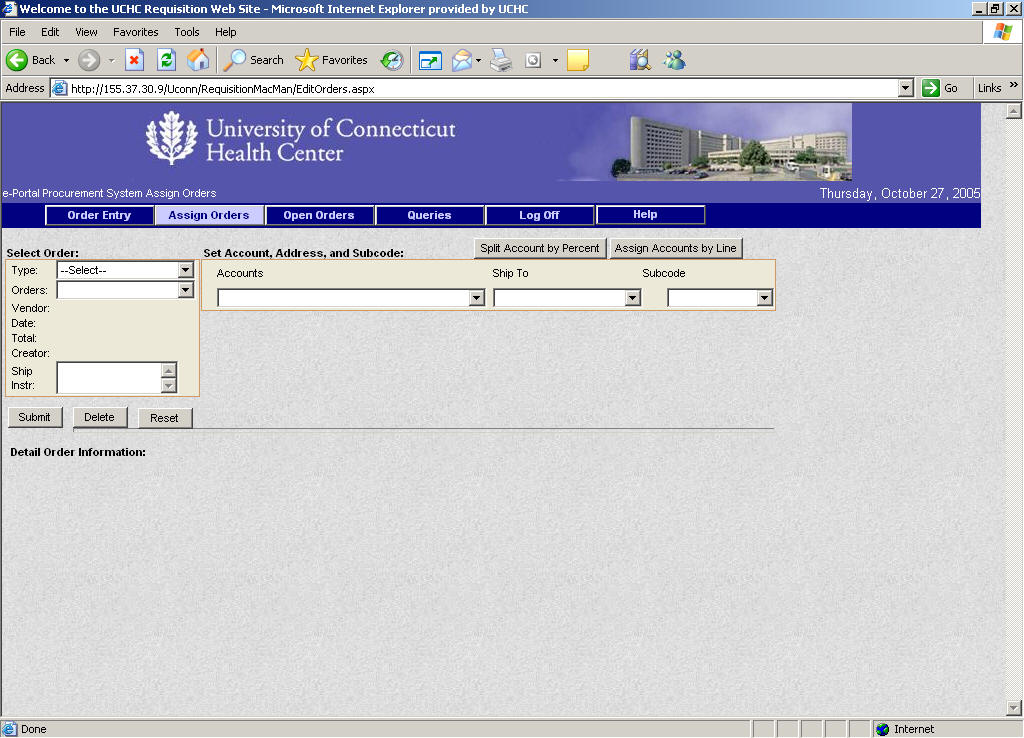
The Assign Orders screen will allow the user to assign order to
accounts. The Logoff link returns the user to the Login screen.
The Help button link will open a new window consisting of help
information for the selected option. The account balances will come from
FRS tables.
There will be an image logo for each vendor that this application
will support.
To Place an Order:
Click on the Supplier Logo or Name
The Logistics Management (Central Warehouse) and Molecular Core Lab are internal Health Center Services
Follow the Supplier's Order or Shopping Cart Process (this may be different for each Supplier)
Follow the Supplier's Checkout Process (this may be different for each Supplier)
Assign Order Page
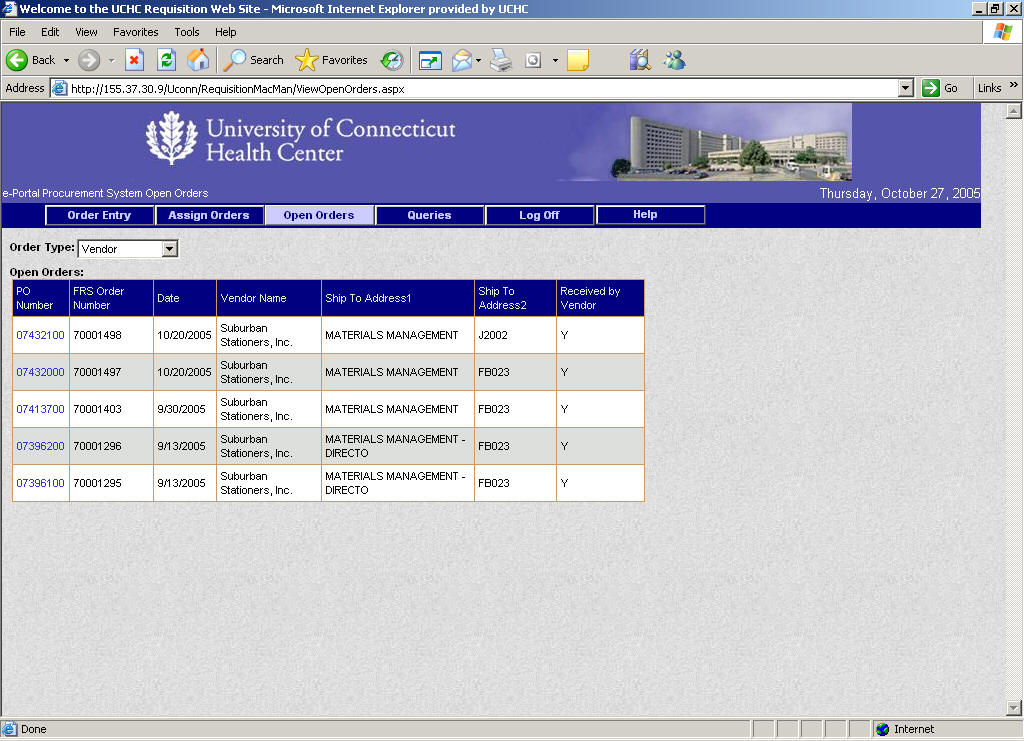
View Open Orders
The Open Orders button will allow the user to view all orders in the database that have yet to be fully received. The Order Number value in the grid will be a link to another popup window which will list the detailed order information for the selected order.
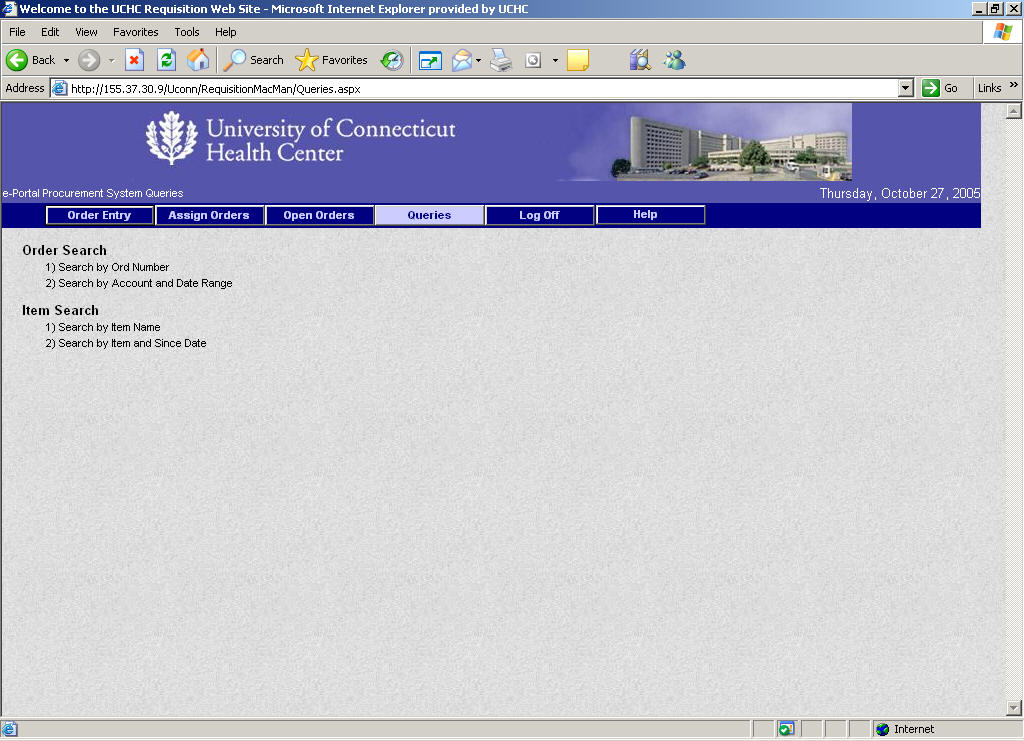
Reports & Queries
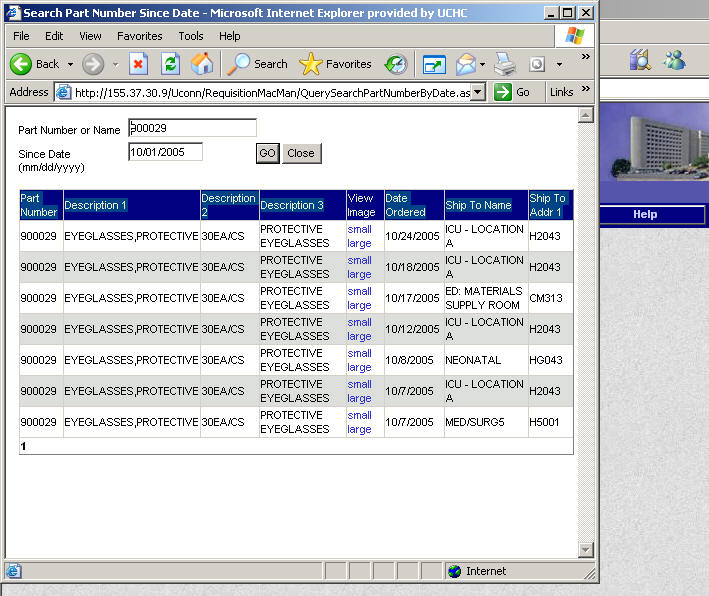
The Queries button will allow the user to search and print out a few basic reports. A important report for the Hospital & Clinics is the Search by Item and Since Date, as it allows you to search for needed product in the case of a stock-out or emergency.
Order Search
Item Search
Example: Search by Item and Since Date
If there are other Reports & Queries that you would like developed for e-Portal, please contact Logistics Management at 679-1917.